Roof insulation without a membrane: savings or costly mistake?
Hi, it’s Ivar. A roof without an underlay can cost less to insulate, but it isn’t always a lasting saving. Here’s my verdict: keep the roofing underlay if the roof design requires it, and don’t remove it without checking the roof covering, ventilation, and exposure to the elements. In my article, I’ll help you identify the cases where going without an underlay is acceptable — and those where it can cause damage.
Quick checklist:
- Check whether a roofing underlay is already in place and what condition it’s in.
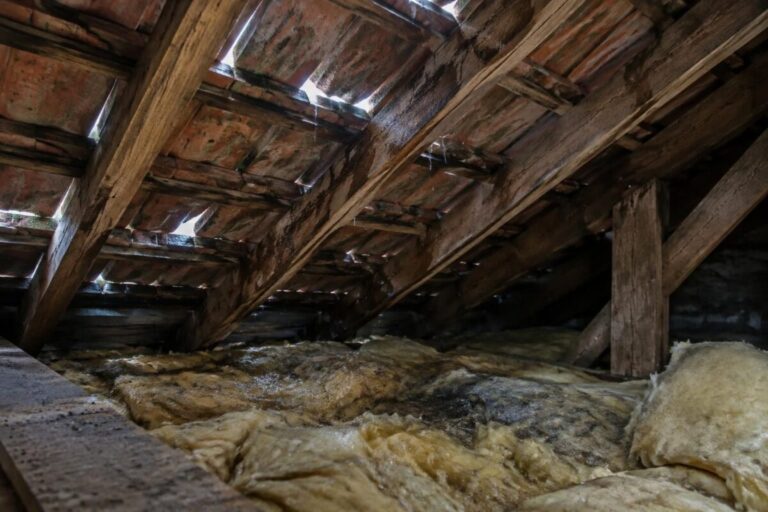
- Look for signs of water ingress, stains, and musty smells.
- Have the ventilation beneath the roof slopes and at the ridge checked.
- Choose insulation suited to the roof structure and configuration.
- Compare the cost of the work with the cost of possible repairs in the long term.
Roof insulation without an underlay: when saving money becomes risky
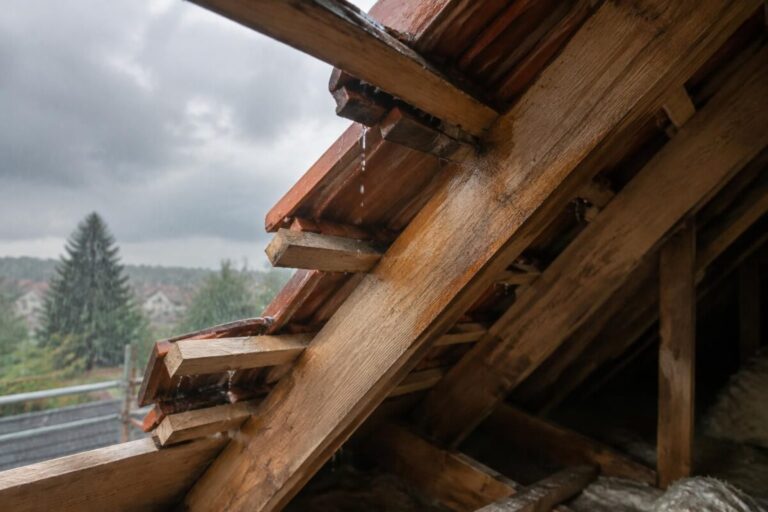
A roof without an underlay can work if its roof covering, pitch, and ventilation form a coherent system. But a roofing underlay provides extra protection against wind-driven rain, powder snow, and dust that can get under the roof tiles.
Be aware: this underlay is no substitute for a roof covering in good condition or a watertight roof. Depending on the system chosen and how it is installed, it helps direct water that gets past the roof covering to the outside. To understand the issues associated with a missing underlay, also see this article on the watertightness of a roof without an underlay.
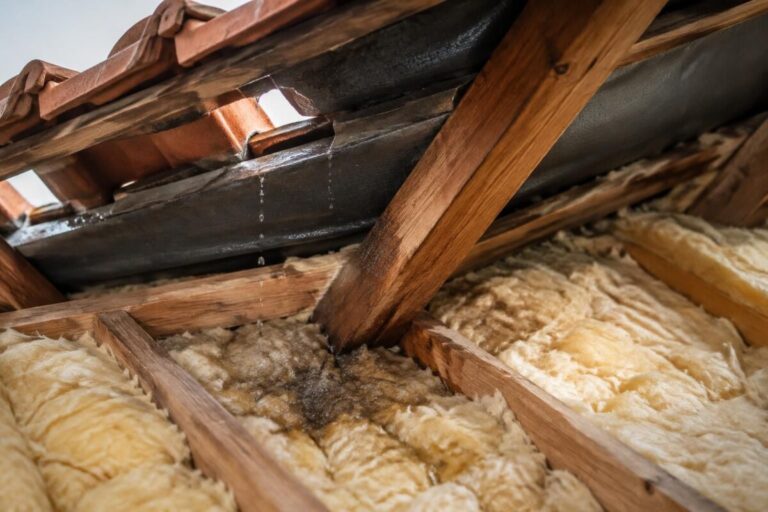
If the roof is highly exposed or signs of water ingress are already visible, not having an underlay increases the risk of moisture in the insulation and roof structure. If the roof covering is suitable, the system’s installation requirements are followed, and ventilation is properly managed, insulation without an underlay may be an option, depending on the circumstances.
Signs to look out for before closing up the attic
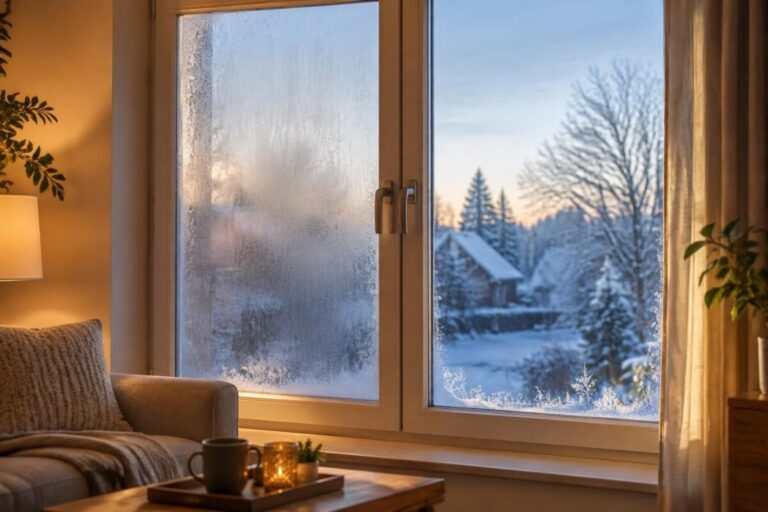
Condensation beneath the roof forms when humid air meets a cold surface. Poorly installed insulation, air leaks from the living space, or insufficient ventilation can encourage this, even when an underlay is present.
A common mistake is to install insulation directly against the roof covering without checking the roof’s full assembly. Possible results include trapped moisture, deteriorating materials, and ongoing heat loss.
“A roof must be able to manage water and moisture before it is closed up.” To tell the difference between a slow leak and a mere suspicion, you can read this guide to the danger of a subtle leak.
Thermal insulation: comparing the risks and the cost of the work
The price of an underlay depends on access, the area, and the type of product. In a renovation, adding one may require removing part of the roof covering, so the cost varies considerably depending on the product and the circumstances. However, saving money at this stage can increase the bill if water later damages the insulation or timber.
| Situation | Point to watch | Decision to consider |
|---|---|---|
| Old or exposed roof covering | Driving rain, snow, or displaced tiles | Have the option of installing an underlay and the condition of the roof covering assessed |
| New roof designed without an underlay | System requirements, pitch, and ventilation | Check the manufacturer’s specifications and applicable requirements |
| Attic already damp | Leak, condensation, or poor ventilation | Address the cause before adding insulation |
For a roof renovation, ask for a quote that specifies the type of underlay, the joints, and the treatment of critical details. A vague line such as “roof protection” doesn’t tell you what will actually be installed.
Protecting the roof: a three-step approach
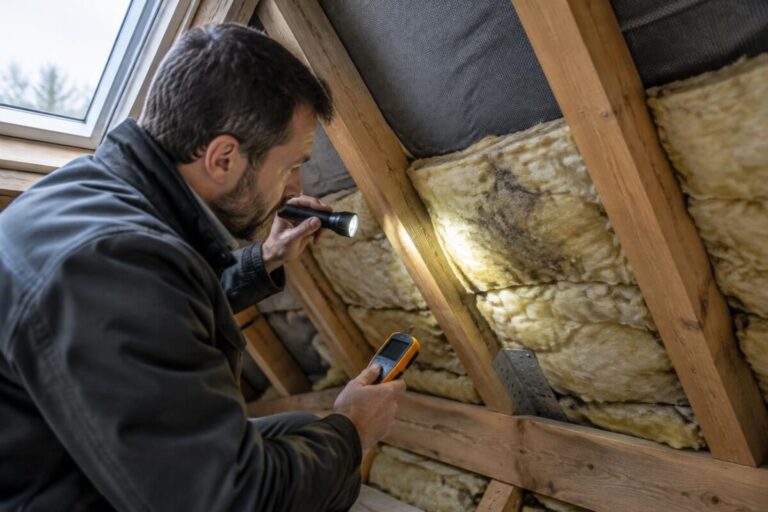
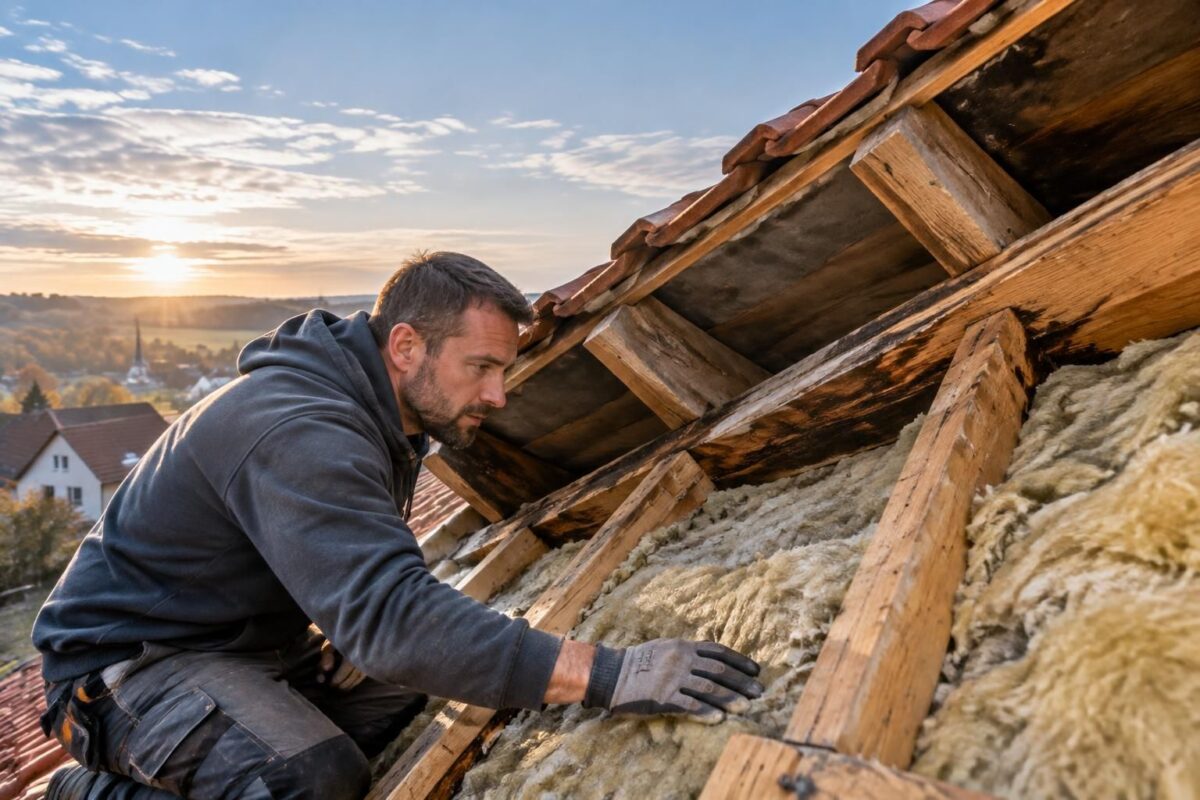
- Step 1 — Inspect. Have the roof covering and structure checked, along with any signs of moisture. An inspection from the attic can reveal signs you can’t see from outside.
- Step 2 — Design the full system. Choose the insulation, any vapor retarder, and the ventilation strategy based on the roof assembly. Don’t create an air gap at random: its purpose depends on the system.
- Step 3 — Install and check. Pay close attention to joints, connections, and penetrations. Before closing everything up, check that the insulation is dry and that the planned ventilation paths are not blocked.
If the roof covering is leaking, insulating from below won’t solve the problem: the source of the water ingress must be repaired first. If the roof is sound but humid air is stagnating, check the ventilation before adding more insulation layers.
Ventilation problems can turn a minor issue into hidden damage. This guide explains why you should check ventilation before sealing everything up.
Choose materials suited to long-term performance
Thermal performance depends on insulation thickness, continuity, and the absence of thermal bridges. Choosing the right material won’t make up for an air leak or a faulty roof covering: durability comes from the whole system.
Compare moisture resistance, compatibility with the roof structure, and installation recommendations. For an occupied home, also plan for suitable indoor ventilation to limit the moisture produced in everyday life.
Remember: an underlay provides protection, but it won’t fix a poorly designed roof. The smart way to save is to address the causes before paying twice: once for insulation, and then again for repairs.
Can you insulate a roof without a roofing underlay?
Yes, in some configurations designed to work without an underlay. Check the roof covering, pitch, ventilation, and system requirements before installing the insulation.
Does a roofing underlay prevent condensation?
Not on its own. Condensation also depends on vapor transfer, air leaks, and ventilation. The entire roof assembly must be suitable.
Should an underlay be installed during a roof renovation?
It depends on the condition and design of the roof. If the roof covering is being removed, have the benefits of an underlay and the cost of installing it assessed before approving the work.
How can you spot a moisture problem beneath the roof?
Look for stains, damp or blackened timber, compressed insulation, and persistent odors. These signs warrant an inspection to distinguish a leak from condensation.
Thanks for reading this far; Ivar