5 Roof Waterproofing Mistakes Involving a Misunderstood Roofing Membrane
Hello, Ivar here.
To protect your roof from water ingress, you need to install the right underlay, ensure the correct overlaps, and maintain adequate ventilation.
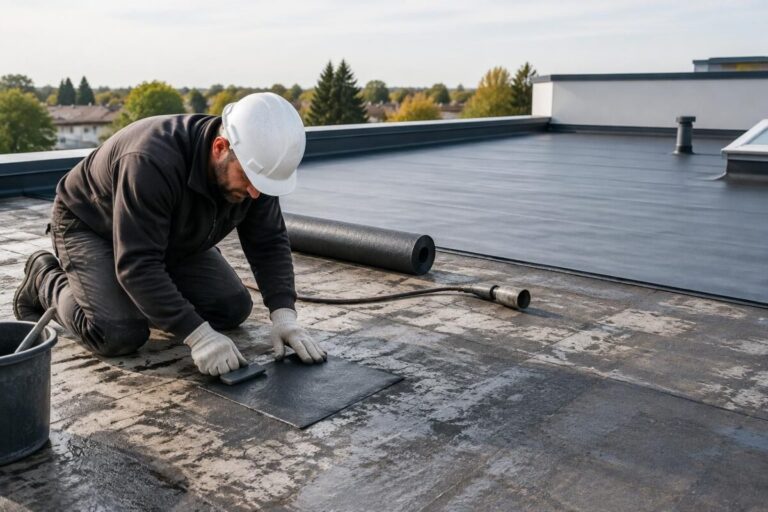
A roofing underlay supplements the roof covering: it does not replace tiles or a vapor barrier membrane. However, five installation mistakes can turn this protection into a moisture trap.
What to do right away
- Check the underlay product reference and its installation instructions before starting work.
- Identify the vapor barrier on the inside and the roofing underlay on the outside.
- Check the overlaps between the underlay sheets according to the roof pitch and the manufacturer’s instructions.
- Ensure continuous ventilation beneath the roof without blocking the designated air inlets and outlets.
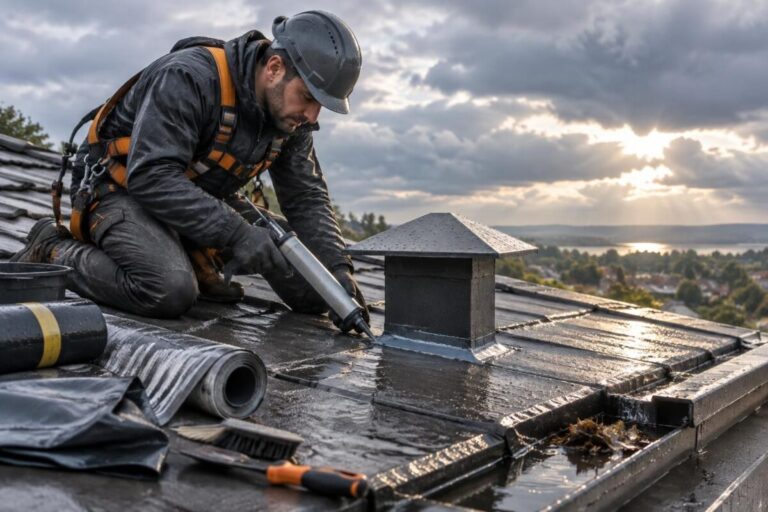
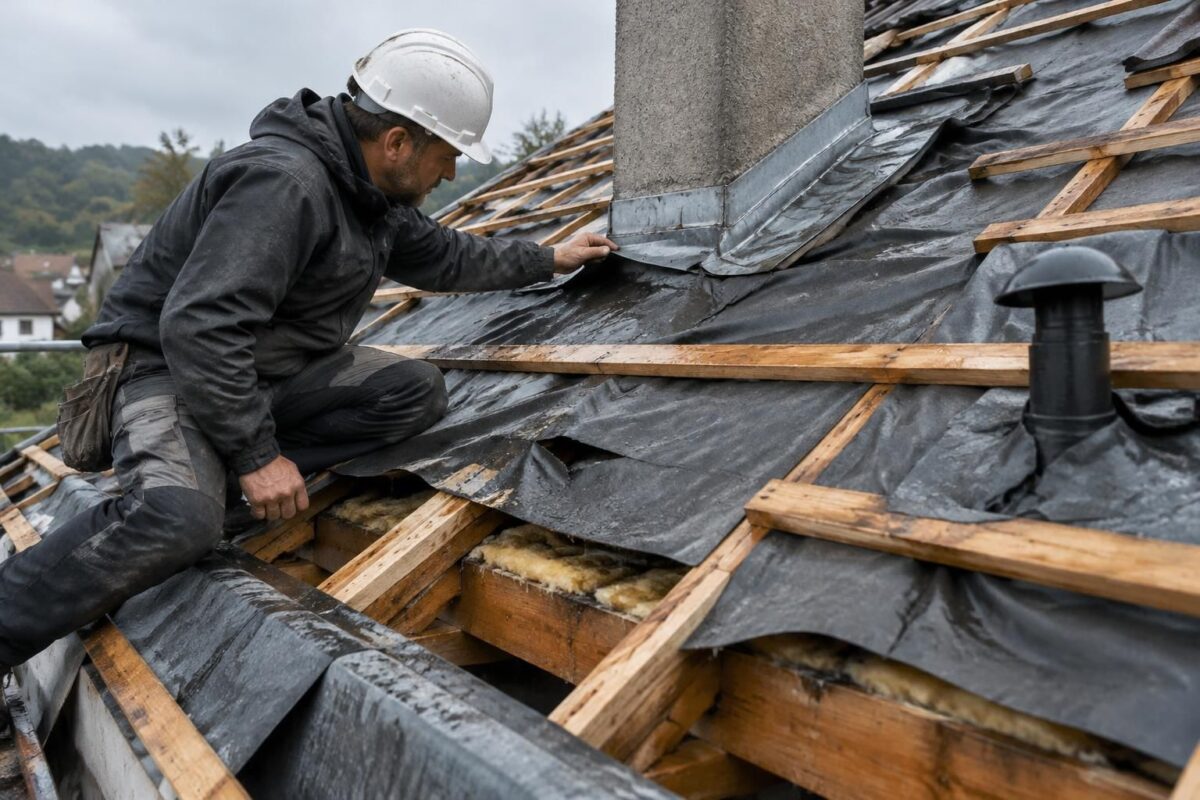
- Inspect the connections around chimneys, roof windows, and valleys.
When renovating, installing an underlay depends on the roof configuration: this guide to roofing underlay in renovations helps explain the constraints. If there is no underlay, also read about the possible consequences of having no underlay beneath the roof.
5 underlay installation mistakes that compromise roof watertightness
A well-chosen underlay drains water that has accidentally passed beneath the roof covering and limits the roof structure’s exposure to the elements. But it cannot fix a defective roof covering, and it never removes the need to follow ventilation requirements.
1. Confusing a vapor barrier with a roofing underlay
Vapor barriers and underlays are often confused because they both come in rolls. However, the vapor barrier is installed on the inside to limit water vapor migration, while the roofing underlay is installed beneath the roof covering as specified by the system.
If these roles are reversed, or if the interior membrane is discontinuous, moisture can build up in the insulation. Condensation beneath the roof can then reduce its performance and encourage mold growth: each membrane must be kept in its proper place and carefully connected.
2. Installing an HPV underlay incorrectly
An HPV underlay is designed to allow water vapor to diffuse outward under certain installation conditions. “HPV” does not mean that every roof configuration can do without an air gap or ventilation.
An HPV underlay that is incorrectly installed, improperly connected, or fitted the wrong way round according to the manufacturer’s instructions can compromise moisture removal. Before closing up the roof, check the markings, installation direction, and details specific to the model selected.
3. Overlooking the overlaps between underlay sheets
Sheets with too little overlap, installed in the wrong direction, or poorly connected can let water reach the insulation and roof structure. The required overlap varies according to the product, roof pitch, and technical instructions: do not rely on a single measurement that supposedly works for every roof.
Imagine wind-driven rain hitting a village roof. If the sheets direct water toward an open joint, it can travel beneath the underlay before any mark appears on the ceiling.
4. Forgetting ventilation beneath the roof
The underlay must not block the airflow required by the roofing system. Inlets or outlets blocked by insulation, an accessory, or debris can lead to persistent moisture and condensation beneath the roof.
Ventilation requirements depend on the roof assembly and its details. If in doubt, have the airflow path checked rather than cutting or puncturing the membrane at random.
5. Treating the underlay as a watertight roof covering
The underlay provides additional protection; it is not a backup roof. A broken tile, defective flashing, or poorly executed connection can cause a roof leak, even when an underlay is present.
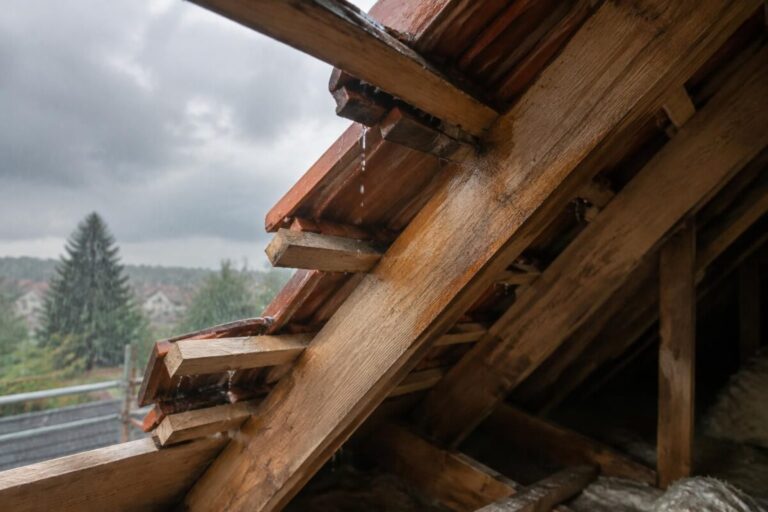
A visible defect in the attic does not always show where the water entered: water can run along a rafter before dripping somewhere else. The roof covering, connections, and underlay therefore need to be inspected together to identify failures in roof watertightness.
Spot the mistake before it becomes costly
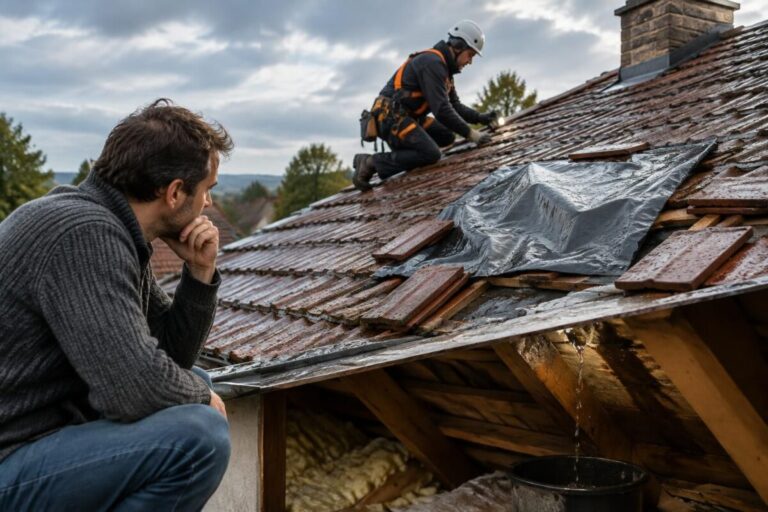
During a renovation, a homeowner discovers a water stain near a roof window after a windy spell. The underlay appears intact nearby, but a poorly executed connection lets water run along a rafter: the problem lies in the connection detail, not necessarily in the sheet itself.
| Observed mistake | Possible risk | Useful check |
|---|---|---|
| Membranes confused | Moisture in the insulation | Check their function and location |
| Underlay sheets poorly overlapped | Water passing beneath the underlay | Compare the installation with the manufacturer’s instructions |
| Ventilation blocked | Condensation beneath the roof | Check the designated air inlets and outlets |
| Connections neglected | Localized water ingress | Inspect valleys, roof windows, and chimneys |
Key takeaway: a membrane’s effectiveness depends as much on its connections and ventilation as on its properties. An inspection from the attic may reveal a problem, but its source must be confirmed by examining the entire roof.
Check the roofing underlay in three steps
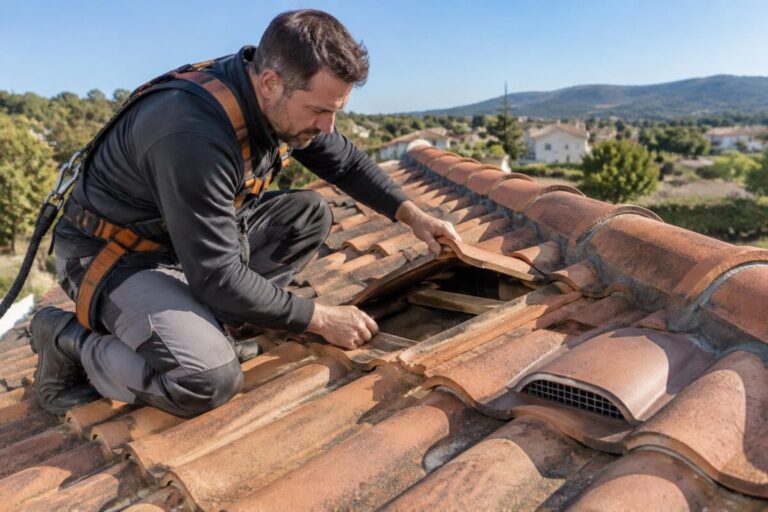
- Look: from an accessible attic, look for signs of moisture, visible tears, detached connections, and areas where insulation is blocking airflow.
- Compare: identify the membrane model and check the manufacturer’s instructions for installation direction, overlaps, and connections. Do not cut the underlay to “improve” ventilation without first diagnosing the issue.
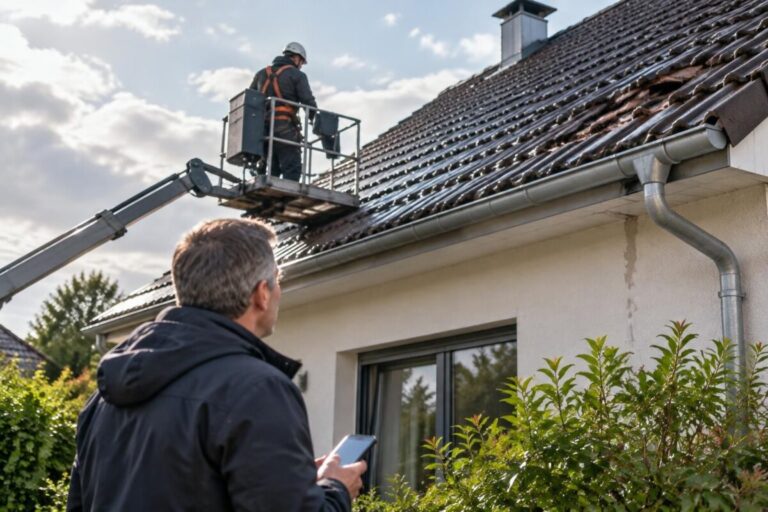
- Have it fixed: if a leak, persistent condensation, or questionable connection is found, ask a professional to inspect the roof covering and underlay. A targeted repair can prevent the cause from being concealed by a temporary patch.
Frequently asked questions about underlay and roof watertightness
Does a roofing underlay make the roof watertight?
No. It provides additional protection against accidental penetration by water and wind-driven snow. The roof covering and its connections remain essential to keeping the roof watertight.
Does an HPV underlay always eliminate the need for ventilation?
No. Requirements depend on the product and the roof configuration. Follow the manufacturer’s instructions and check the ventilation specified for the entire roof.
How can you recognize condensation beneath the roof?
Signs of moisture, droplets, a musty smell, or damp insulation may be warning signs. These signs alone are not enough to confirm the cause: an inspection can distinguish condensation from water ingress.
Can you repair a torn underlay yourself?
The repair required depends on the location, extent of the damage, and accessibility. An improvised patch can trap water or interfere with ventilation; have the area assessed before carrying out any work.
Thanks for reading! If this topic resonates with you, share your experience in the comments. — Ivar