Exposed roofing materials: does the film change everything?
Hello, I’m Ivar.
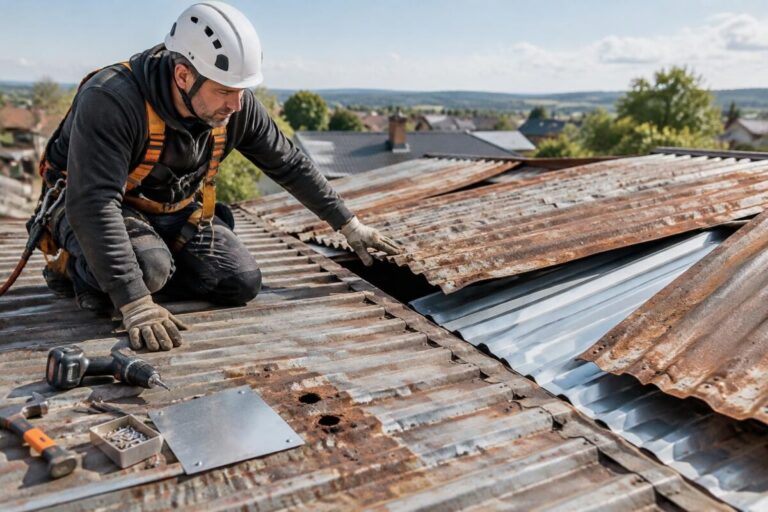
No, a protective membrane doesn’t change everything: it complements roofing materials, but it doesn’t replace suitable roofing, good ventilation, or careful installation.
When exposed to the elements, it provides a second line of defense against water and dust. However, its effectiveness depends on its UV resistance, its compatibility with the roof, and how moisture can escape.
To understand what it really protects, it’s most useful to look at the roof as a whole: roofing, underlay, insulation, and airflow. A fictional house, Lina’s, will serve as our example.
Good practices to follow
- Identify the roofing and check its condition before adding an underlay.
- Check the product data sheet for the membrane, particularly its UV resistance and the permitted exposure period before the roofing is installed.
- Maintain ventilation as designed for the roofing system, without blocking air inlets or outlets.
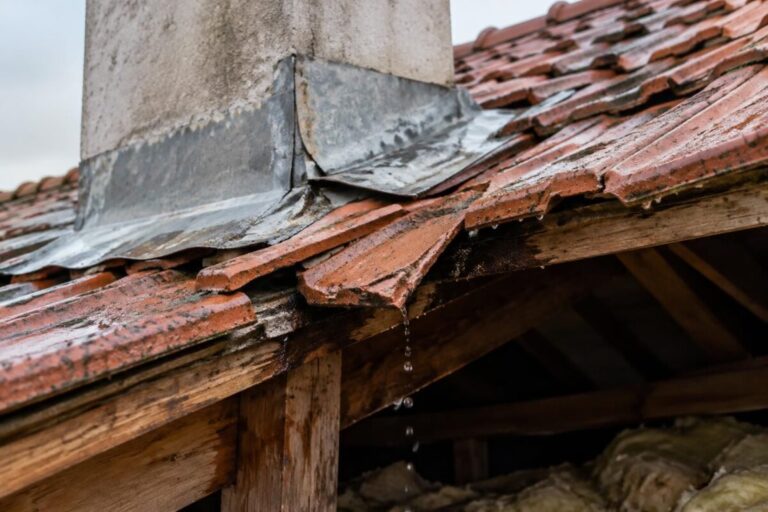
- Check the junctions around chimneys, roof windows, and valleys: these are vulnerable points for watertightness.
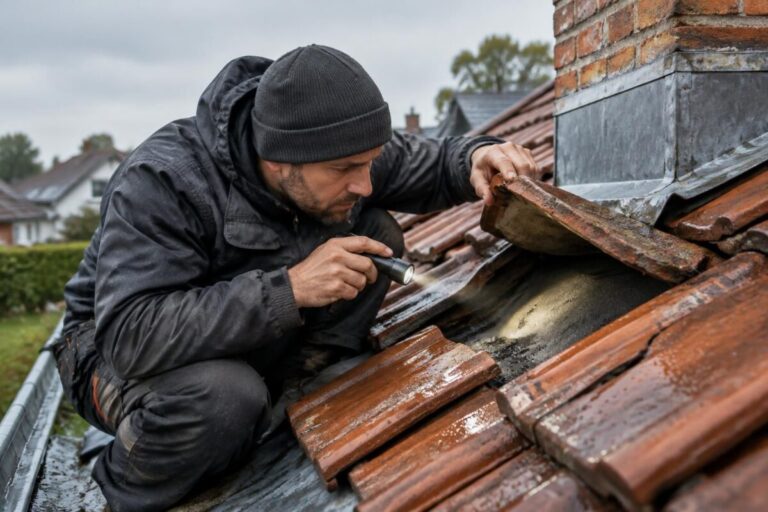
- Inspect the attic after heavy rain, and keep a record of any issues you find.
To learn more about the role of the underlay, see this guide to roofing underlay and its level of protection, then read the advice on keeping the roof watertight without trapping water vapor.
Roofing underlay: what it actually does
A roofing underlay is installed beneath the roofing. Depending on the product and how it is installed, it can collect water that accidentally gets beneath the tiles and direct it toward the eaves, while also limiting the entry of wind-driven snow or dust.
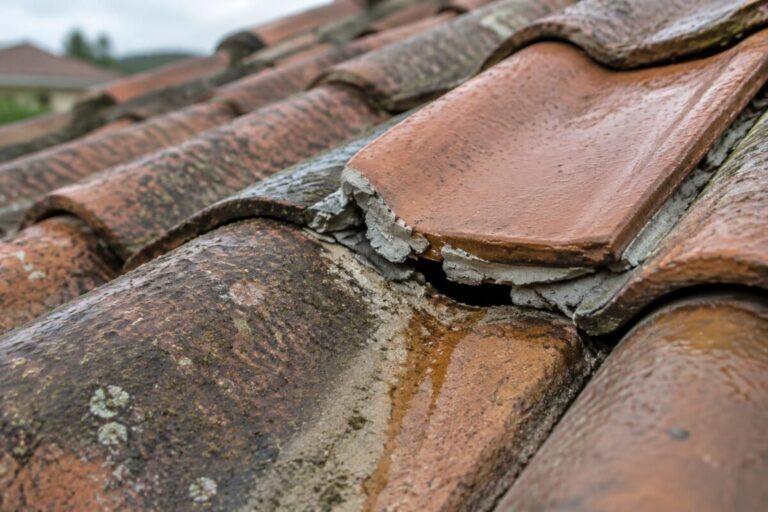
On its own, it won’t make defective roofing watertight. If tiles are broken or a junction is poorly finished, the membrane can reduce the consequences, but water must still be able to drain away without reaching the timber or insulation.
UV resistance and exposure to the elements
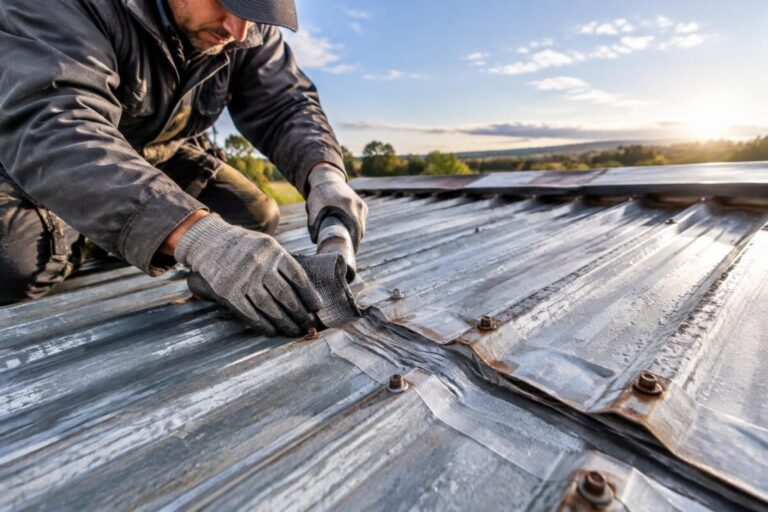
When the membrane remains exposed during construction, sunlight can affect its performance. The permitted exposure period depends on the model: follow the manufacturer’s instructions rather than assuming an underlay can remain uncovered indefinitely.
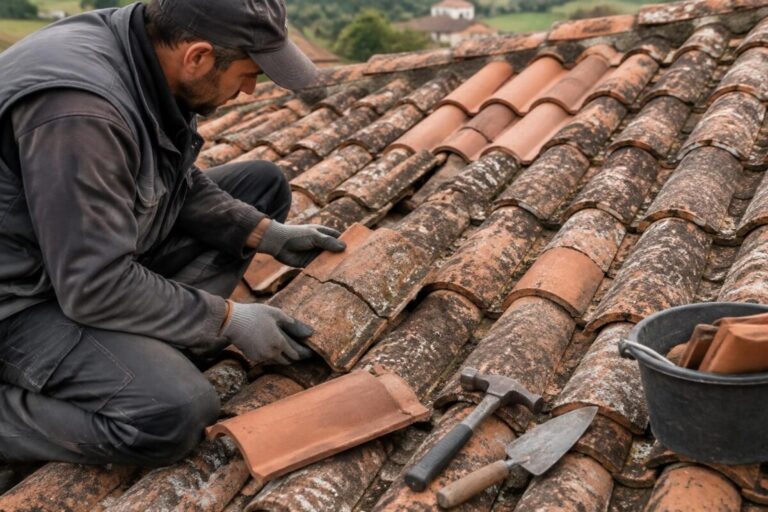
Lina discovers that her project has been delayed after a week of rain. Her roofer checks the product reference, inspects the overlaps, and temporarily protects vulnerable areas. The period specified by the manufacturer matters just as much as the material’s initial quality.
Exposed roofing materials: comparing protection
A membrane doesn’t serve the same purpose as a roofing material. Tiles, slate, or metal provide the first line of protection against the elements, while the underlay provides additional protection. Roof insulation, meanwhile, limits heat loss, but doesn’t replace the management of water and vapor.
| Component | Main function | What to check |
|---|---|---|
| Roofing | Directly protect the roof from rain and wind | Condition of the materials and quality of the junctions |
| Roofing membrane or underlay | Provide additional protection against accidental water ingress | Compatibility, overlaps, and UV exposure |
| Insulation | Reduce heat transfer between the attic and the home | Continuous installation and moisture management |
| Ventilation | Help remove moisture, depending on the roof design | Unobstructed airflow |
The durability of materials depends on how well they suit the climate, roof pitch, and structure. A high-performance underlay that is poorly installed cannot make up for inadequate ventilation: moisture can then accumulate in the roof layers.
Protecting against moisture without trapping vapor
A roof must limit water ingress while managing the vapor produced inside the home. The solution depends on the wall assembly as a whole: the underlay, insulation, any vapor barrier, and ventilation must all work together.
In Lina’s attic, a damp patch of insulation catches her attention. The cause isn’t necessarily a leak: the junctions, airflow paths, and signs of condensation must also be examined. Before replacing the insulation, you need to identify where the moisture is coming from.
Installing roofing underlay: a three-step method
- Assess the roof. Identify the materials, roofing defects, pitch, and any special details. Also check the installation requirements for the chosen product.
- Install the underlay according to its instructions. Follow the installation direction, overlaps, and junction details. Don’t leave the membrane exposed beyond the period permitted by the manufacturer.
- Check the whole system. Check water drainage, insulation continuity, and ventilation. After the first rains, inspect the attic and address any issues promptly.
Regular roof maintenance complements these steps: clear away debris that obstructs drainage, check for displaced tiles, and have persistent leaks inspected. A membrane is useful when it forms part of a well-designed system, not when it is expected to repair an aging roof on its own.
Frequently asked questions about roofing membranes
Does roofing underlay replace the roofing?
No. It complements the roofing by providing secondary protection, but tiles, slate, or metal elements remain the first barrier against rain.
How long can an underlay remain exposed to the sun?
The duration varies by product. Check its data sheet and complete the roofing within the specified period, as UV rays can degrade some underlays.
Does roofing underlay prevent all moisture in the attic?
No. It helps manage accidental water ingress, but ventilation, junctions, and water vapor management remain essential.
Should a membrane be installed during a renovation?
It depends on the roof configuration, the roofing, and the installation requirements. A professional can check that the system is compatible before work begins.
Thanks for reading! I’d love to hear your thoughts in the comments. — Ivar