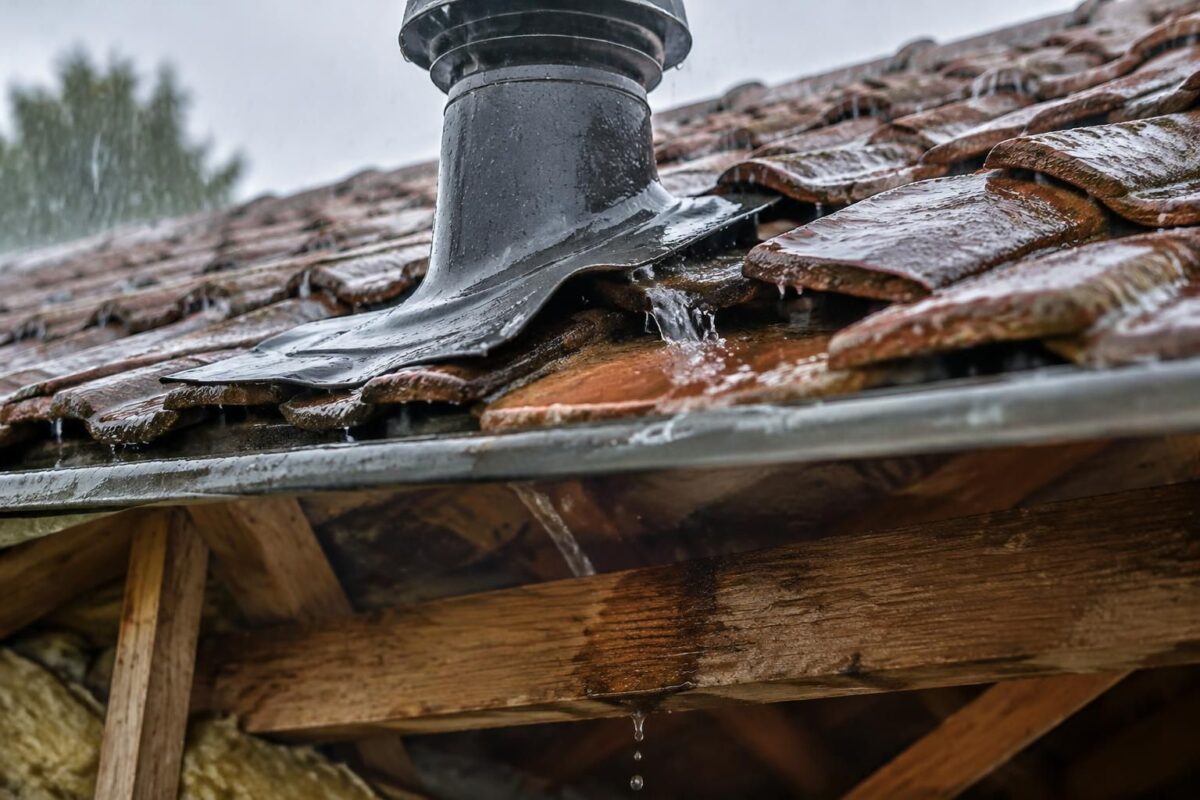
Roof ventilation: can a poorly installed vent let water in?
Hi, it’s Ivar. Yes, a poorly installed roof vent can let water in: the terminal, its waterproofing connection, and the surrounding roof covering need to be checked. Poor installation can also send humid air into the attic, where it cools and condenses. The sign to watch for: damp patches near the duct, even if there’s no visible leak on the ceiling.
Quick checklist:
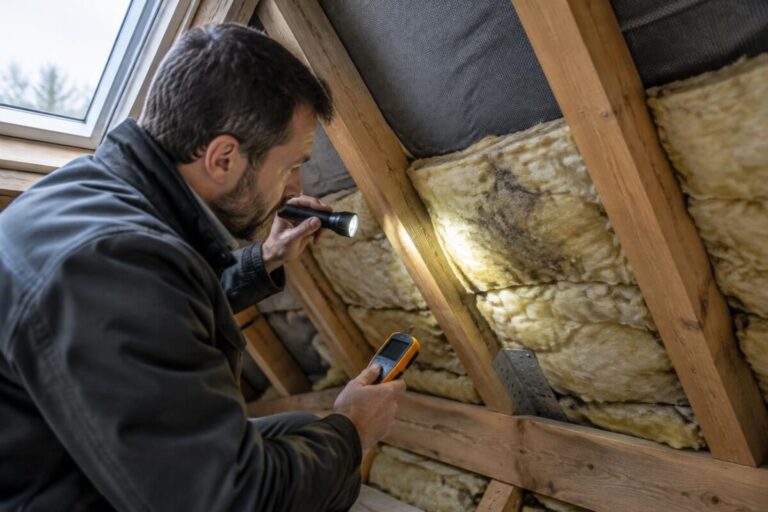
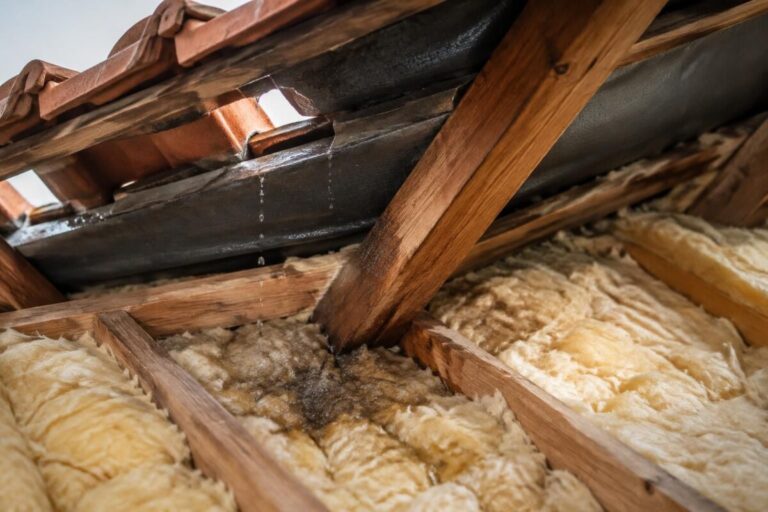
- Look for stains, watermarks, or traces of water near the vent.
- Check that the ventilation hood is secure and free of cracks.
- See whether the tiles or roofing element around it have shifted.
- Check the condition of the duct and insulation in the attic.
- If accessing the roof is risky, call a roofer rather than climbing up yourself.
Poorly installed MVHR roof vent: how water gets in
The vent exhausts humid air extracted from the home. To remain watertight, it must be suited to the roof covering and connected without compromising the roof’s protective layer. An incompatible part, a damaged seal, or an approximate installation can cause water ingress, especially when wind drives rain beneath the hood.
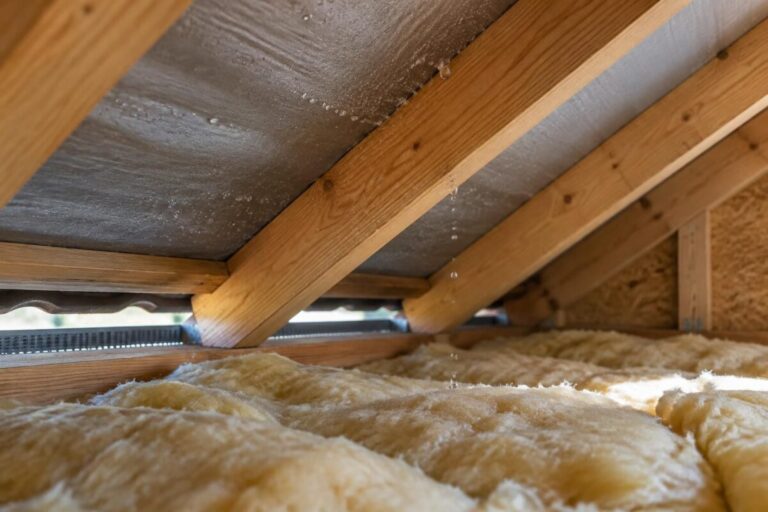
A leak isn’t always caused by rain getting in around the terminal. If the duct runs through a cold attic without sufficient insulation, moisture in the extracted air can condense inside it, then run down toward the unit or ceiling. To tell these two causes apart, this guide to condensation that looks like a leak offers some useful pointers.
Simple rule: water must stay outside the roof covering, and humid air must be vented outdoors, never into the attic.
Signs that help identify the cause
A water stain that gets worse after rain suggests a problem with the roof waterproofing. A wet duct, the sound of dripping, or damp insulation may instead point to condensation, although both problems can occur at the same time.
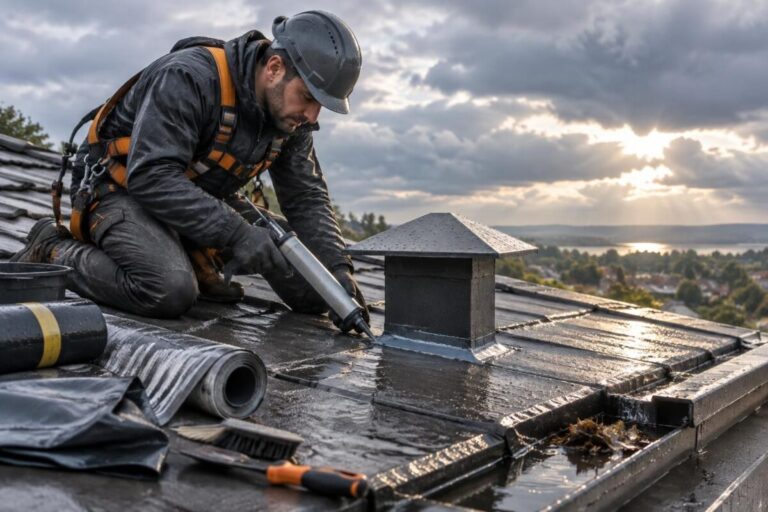
A common mistake is to cover the connection with sealant without looking for the source of the water. The product may hide the symptom for a while, but an ill-fitting part or a cracked tile will still need to be replaced or repaired.
Installing a roof vent: check the sensitive points
Roof vent installation depends on the material: tile, slate, zinc, or a flat roof. The tile vent must match the profile of the roof covering, while a flat roof requires a system designed for its membrane. In all cases, the connection must not hold water or obstruct the airflow.
On a pitched roof, water runs around the roofing component, so poor overlap can cause a roof leak. On a flat roof, the penetration and its waterproofing upstand require particular attention. To understand suitable repair options, also see these tips on waterproofing products and their limitations.
If water appears mainly after heavy rain, first inspect the hood, seals, and surrounding roof covering. If it appears in cold weather without rain, first check the duct insulation and whether water has condensed inside the system.
Materials and checks to prioritize
Choose a terminal that is compatible with the roof and the diameter recommended by the MVHR manufacturer. Common diameters often range from 125 to 160 mm, depending on the model and airflow rate: an improvised reduction can increase noise and reduce extraction.
| Point to check | What to look for | Risk if done incorrectly |
|---|---|---|
| Terminal and roof covering | Compatible parts, correctly fitted | Water entering around the vent |
| Waterproofing connection | Seal or base suited to the roof material | Moisture in the battens or insulation |
| Duct in a cold attic | Continuous insulation and tight connections | Condensation and drips inside the system |
| Ventilation hood | Secure mounting, unobstructed airflow | Rain, debris, or pests entering the duct |
Preventing water ingress also involves periodic inspections: cracks, displaced parts, and blockages from leaves or a nest can compromise an installation that seemed sound. This is covered in detail in this guide to checking the ventilation before looking for a leak.
Repairing a roof vent that lets water in
Avoid climbing onto the roof in wet or windy weather. From the attic, you can look for marks and check the visible condition of the duct, but work on the roof covering requires safe access and often the help of a roofer.
- Find the source: note when the water appears, then check for marks around the terminal and along the duct.
- Check the components: have the hood, tile vent or base, seals, and connection to the roof covering inspected.
- Repair it properly: replace incompatible or damaged components, restore the waterproofing, and check the duct insulation.
Cleaning the terminal annually and visually inspecting it after severe weather are good habits. The cost depends on access and the type of roof: the part alone often costs from a few dozen to over a hundred euros, while installation costs vary depending on the complexity of the job.
Frequently asked questions about waterproofing an MVHR vent
Can a poorly installed MVHR vent let rain in?
Yes. A damaged hood, an ill-fitting roofing component, or a faulty waterproofing connection can let water in, especially during wind-driven rain.
How can you tell water ingress from condensation?
A leak that follows rainy spells points to a problem with the roof covering. Water in the duct in cold weather, without rain, is more likely to indicate condensation caused by insufficient insulation or a poorly designed system.
Can the connection be repaired with sealant?
Sealant is no substitute for a suitable component or a proper repair to the roof covering. First identify the source of the problem and choose a product compatible with the roof material.
When should you call a professional?
Call a roofer or ventilation specialist if access is dangerous, if the roof is flat, or if water has reached the insulation, timber, or MVHR unit.
Thanks for reading this far; Ivar